


- A True Year-Round System: Continues heating down to -22°F weather and cooling up to 115°F weather
- Full Control From the Couch: Wi-Fi enabled out of the box for full control from your smartphone via free app
- Smooth Setup Process: Pre-charged outdoor unit and pre-flared lineset ensures frustration-free installation
- All The Features You Desire: Dual-swing equipped 3D indoor air louvers ensures full coverage of the room
- Rebates and Incentives Galore: Both Energy-Star 6.1 and Cold-Climate certification ensures that you qualify for all of the best tax credits and local incentives, helping you save even more money after switching
1 review for Pioneer® Hyperformance™ 9,000 BTU 25.5 SEER2 Ductless Mini Split Inverter++ Wi-Fi Enabled Air Conditioner Hyper Heat Pump Full Set
Add a review
Related products
Split-System Air Conditioners
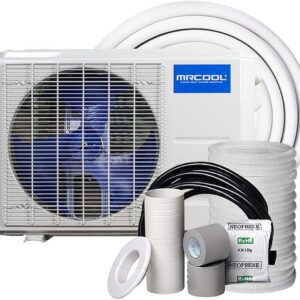
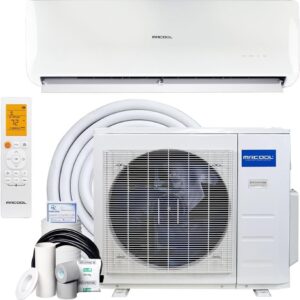
12k BTU 19 SEER MrCool Advantage Ductless Heat Pump Split System 3rd Generation – 115v
Split-System Air Conditioners
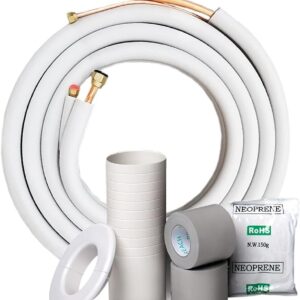
1/4″ x 3/8″ 9K MrCool Ductless Mini Split Line Set AC Kit with Control Wire 25 Ft
Split-System Air Conditioners
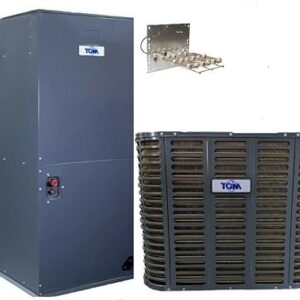
3 TON 15 SEER2 HEAT PUMP SYSTEM AIR HANDLE, CONDENSER, HEAT STRIP
$2,895.00
Split-System Air Conditioners
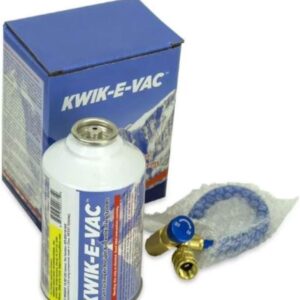
KWIK-E-VAC Line Set Flushing Kit Installation Simplifier for Mini Split Air Conditioning Systems

Split-System Air Conditioners
Split-System Air Conditioners
Split-System Air Conditioners
18k BTU 21.5 SEER MrCool Olympus Hyper Heat Ductless Heat Pump Split System – Wall Mounted
$1,724.51

Split-System Air Conditioners
17.4 SEER2 MrCool Hyper Heat Central Ducted Split System with 10 Year Labor Warranty (3 Ton)
tgtech –
The unit arrived pallet mounted and wrapped. The interior unit was damaged in shipment and Pioneer customer service was contacted and sent a replacement fairly quickly. A pre-paid return label was supplied to UPS the damaged unit back to them.
I installed the interior unit onto ½” drywall with 7 drywall anchors rated at 75 lbs each. The interior unit weighs about 30 pounds, so hitting a stud isn’t absolutely necessary as long as the drywall is securely mounted to the studs, is in good shape, and proper anchors are used.
The template showing the wall penetration hole center location is sufficient for the horizontal measurement, but is vague for the offset from the bottom since it references the unit’s bottom edge and not the mounting bracket’s bottom edge. Be careful marking/measuring since the bottom of the hole is very close to the bottom of the unit and drilling it too low will leave a little bit of the hole exposed when the unit is mounted.
My wall penetration went through drywall and concrete block. I used a 2-1/2” carbide hole saw with no issue. As per the instructions, there should be a downward slope to ensure the drain is pitched properly for condensate drainage.
I sleeved the hole by rolling up an IKEA flexible cutting mat into a tube.
The refrigerant lines were factory “double flared.” They didn’t look so great, so I cut them off and reflared them using an eccentric flaring tool which worked very nicely. Lots of YouTube videos on proper flaring techniques.
I used Nylog Blue on the faces and backs of the flare but not the threads. There is a lot of controversy of lubricating the threads which can cause over torquing.
I used a torque wrench to tighten the flare nuts to spec. THIS IS PROBABLY THE MOST CRITICAL STEP FOR THE INSTALL! I was surprised how much force it took to get 40+ ft-lbs for the larger copper pipe nut. The smaller pipe was pretty easy.
I could not get the Wifi working. Apparently for this “Hyperperformance” unit, the only app that will work is the ConnectLife app. The Pioneer Airlink and NetHome Plus did not work. To Pioneer’s credit there was a small slip of paper in the instructions that did name ConnectLife as the app to use.
I used a wall mount bracket for the condenser since it allows better airflow around the unit and keeps it off the ground.
I used a line set cover to hide the piping.
I was very careful to vacuum out the line set and ensure the vacuum help for an hour or so.
I also was very careful to check for leaks in using soapy water. Note that heating mode runs at much higher pressures than cooling mode, so you may want to check for leaks in heating mode, too.
I ran the control/power cord in liquid tight conduit for protection. The control/power cord is the thickness and flexibility of an extension cord, so I was a little uncomfortable with leaving it exposed even though it is said to be UV rated.
220V dedicated system power was installed to the exterior disconnect using THHN 12 gauge solid wire in liquidtight.
I spent a LOT of time going back and forth to my tool boxes to get various tools. I took my time over 3 days to install it since I wasn’t in a rush. If you think you can do it all in a day, including installing the dedicated branch circuit, it would be a REALLY long day and probably take two experienced people AND having all your tools immediately at hand. I watched dozens of installation videos.
Some common items I saw that are very questionable in several videos are:
– Not using a dedicated circuit for power.
– Not having the disconnect within view of the exterior unit. Electrical code states “Disconnecting means shall be located within sight from, and readily accessible from, the air-conditioning or refrigerating equipment.”
– Running “Romex” (plastic coated) power in conduit.
– Running the wrong gauge wire for power.
– Not using bushings where power enters/exits the unit and/or the disconnect.
– Torquing the flare nuts “by feel.”
– Kinking the refrigerant line(s).
– Making poor electrical connections to the terminal blocks in the external unit.
– Improper condenser wall mounting by lagging the vertical AND horizontal supports to the wall. The bracket arms are designed to either hang from horizontal bar OR be used without the horizontal bar and lagged directly into a wall.
– Improper clearance for the outdoor unit. Shrubs up against the unit, too close to the wall, etc. impedes air flow.
– Cutting the line set too short (<3-4 feet). If the line set is too short, the pre-charge will be too much for the system.
– Letting copper burr shavings fall into the line set when preparing flares.
– Not vacuuming out the refrigerant lines before releasing the refrigerant.
– Improper wall penetration sealing from the outside. Use duct seal compound and/or pure silicone caulk and/or expanding foam. You want to prevent water, air, and insects from getting into the wall.
The outdoor unit is very quiet. The indoor unit is also very quiet on low settings and acceptably quiet on med/high settings. This 18,000 BTU unit draws about 1,500 Watts when cooling in high mode. The inverter capability controls the compressor to variable set points based on the cooling or heating demand level to maximize efficiency. This system really delivers very cold air for the A/C mode and very hot air in heating mode!